The Ultimate Guide to Soldering: Techniques, Tools, and Tips for Perfect Connections
Published by Sumit Chawla on 19th Nov 2024

Ever wondered how those intricate electronic devices you use daily come together? The answer lies in the art of soldering. This essential technique forms the backbone of modern electronics, allowing for the creation of robust connections between components. From DIY enthusiasts to professional technicians, mastering soldering techniques can open up a world of possibilities in electronic projects and repairs.
In this comprehensive guide, you'll discover everything you need to know about soldering. We'll walk you through the essential tools, including the soldering iron and various types of solder wire. You'll learn the differences between soldering and welding, and explore different soldering processes and materials. We'll also cover crucial safety tips and share expert advice to help you achieve perfect connections every time. Whether you're a beginner or looking to refine your skills, this guide has got you covered.
Table of Contents:
- Essential Soldering Tools and Materials
- Mastering Basic Soldering Techniques
- Advanced Soldering Methods
- Safety Precautions and Best Practices
- Conclusion
- FAQs
Essential Soldering Tools and Materials
To achieve perfect connections in your soldering projects, you'll need the right tools and materials. Let's explore the essential items you should have in your soldering toolkit.
Soldering Irons
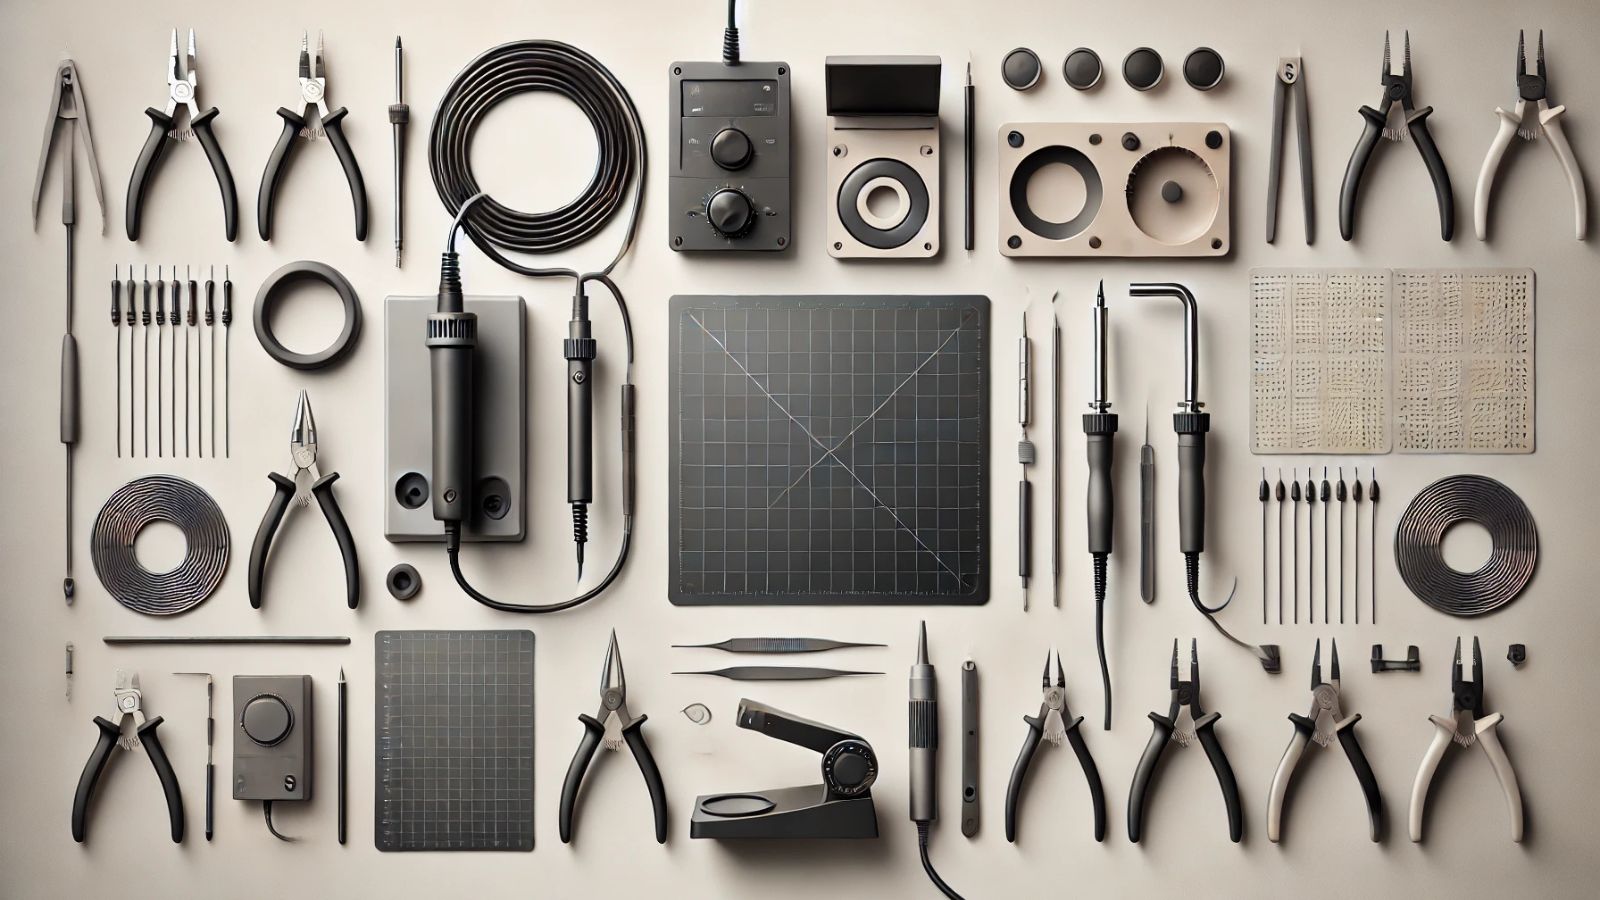
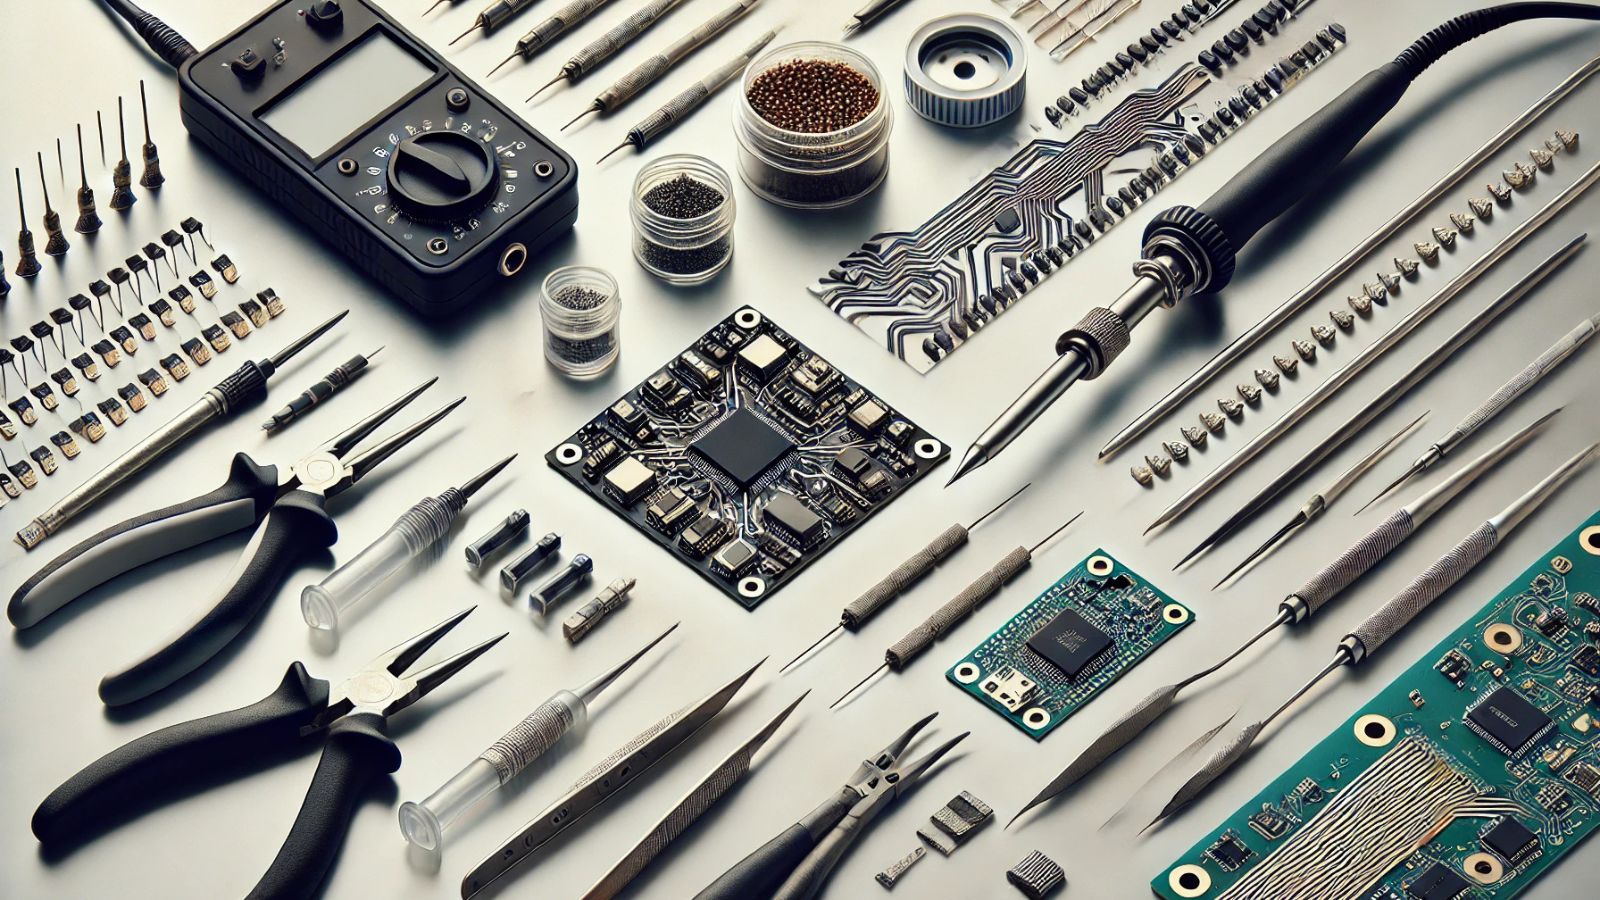
The soldering iron is the cornerstone of any soldering setup. It's a hand tool with a heated metal tip and an insulated handle, designed to melt solder and create strong bonds between components. For most projects, a pencil-style soldering iron with a power output of 25 watts or more is recommended. These irons offer precision and control, making them ideal for intricate tasks like surface mount soldering and fine-pitch component work.
When choosing a soldering iron, consider temperature control features. Some irons come with adjustable temperature settings, allowing you to tailor the heat output to your specific soldering needs. This is particularly useful when working with temperature-sensitive components.
Solder Types
Solder is the filler material that melts and joins components together. It's crucial to select the right type of solder for your project. The two main categories are:
Flux
Flux is a chemical agent that plays a vital role in the soldering process. It helps remove oxides from metal surfaces, promotes better wetting of the solder, and prevents oxidation during soldering. There are different types of flux available:
Keeping your soldering iron tip clean is crucial for effective heat transfer and solder flow. Essential cleaning tools include:
Mastering Basic Soldering Techniques
Now that you've got your tools ready, it's time to dive into the art of soldering. Mastering basic soldering techniques is crucial for creating strong, reliable connections in your electronic projects. Let's explore some essential steps to help you achieve perfect solder joints.
Tinning the Iron
Before you start soldering, it's important to tin your soldering iron. Tinning helps protect the tip from oxidation and ensures better heat transfer. To tin your iron:
- Heat up your soldering iron to the right temperature (around 315-370°C for lead-free solder).
- Clean the tip using a damp sponge or brass sponge to remove any oxidation.
- Melt a small amount of solder onto the tip, coating it evenly.
- Wipe off any excess solder, leaving a thin, shiny layer on the tip.
Remember to re-tin your iron regularly during your soldering session to maintain its effectiveness.
Proper Heat Application
Applying heat correctly is key to creating good solder joints. Here's how to do it:
Creating a Good Solder Joint
A good solder joint is crucial for a reliable electrical connection. Here's how to achieve it:
- Clean the surfaces you're soldering to remove any oxidation or contaminants.
- Apply flux if necessary to help the solder flow and adhere better.
- Heat both surfaces simultaneously with your tinned iron.
- Add just enough solder to create a small, smooth dome or "volcano" shape.
- Remove the iron and solder, then let the joint cool without disturbing it.
A well-soldered joint should look smooth and shiny, not dull or grainy. It should form a slight concave shape, adhering smoothly to both the pad and the component lead.
Remember, practice makes perfect. Don't be discouraged if your first attempts aren't flawless. With time and experience, you'll develop a feel for the right amount of heat and solder to use. Keep your workspace clean, maintain your soldering iron properly, and always prioritize safety by working in a well-ventilated area and wearing protective gear.

Advanced Soldering Methods
As you become more proficient in soldering, you'll encounter projects that require more sophisticated techniques. Let's explore some advanced soldering methods that will help you tackle complex tasks with confidence.
Surface Mount Soldering
Surface mount technology (SMT) has become increasingly common in modern electronics. This method involves soldering components directly onto the surface of a printed circuit board (PCB) without through-holes. To master surface mount soldering:
Desoldering Techniques
Removing components from a PCB is an essential skill for troubleshooting and repairs. Here are some effective desoldering methods:
Rework Procedures
Rework involves correcting soldering mistakes or replacing faulty components. To perform successful rework:
Safety Precautions and Best Practices
When it comes to soldering, safety should always be your top priority. By following proper precautions and best practices, you can minimize the risks associated with this essential electronics skill. Let's explore some key safety measures to keep in mind during your soldering projects.
Proper Ventilation
One of the most crucial aspects of soldering safety is ensuring proper ventilation in your workspace. The fumes produced during soldering can be harmful if inhaled, potentially causing irritation to your eyes, nose, and throat. To protect yourself:
Eye and Skin Protection
Protecting your eyes and skin is essential when soldering. Hot solder can splash and potentially cause serious injuries. To stay safe:
Avoiding Burns and Injuries
The soldering iron's tip can reach temperatures up to 400°C (752°F), making burns a significant risk. To prevent injuries:
Conclusion
Mastering the art of soldering opens up a world of possibilities in electronics. From choosing the right tools to perfecting advanced techniques, this guide has laid out the essentials to help you create strong, reliable connections. Remember, practice makes perfect, and with time, you'll develop the skills to tackle even the most complex soldering tasks with confidence.
Safety should always be your top priority when soldering. By setting up a well-ventilated workspace, using proper protective gear, and following best practices, you can minimize risks and enjoy your projects safely. So grab your soldering iron, put on your safety glasses, and start creating. Who knows? Your next soldering project might just be the start of something amazing in the world of electronics.
FAQs
Q: How can I ensure high-quality solder connections?
A: To achieve high-quality solder connections, ensure you have the necessary components such as solder, flux, and a heat source. Missing any of these elements can compromise the soldering process.
Q: Can you outline the five key soldering techniques?
A: The five crucial steps to PCB soldering include:
- Tinning the solder iron, which prepares it for use.
- Preparing the PCB or other surfaces for soldering.
- Properly positioning your components on the board.
- Applying heat to the joint you're working on.
- Soldering the joint and then inspecting and trimming any excess leads.
Q: What tips can you offer for selecting the right soldering tip?
A: Choosing the appropriate soldering tip can greatly enhance your soldering effectiveness:
- Chisel tips are versatile and suit various soldering needs.
- Conical tips are ideal for precision tasks.
- Hoof tips are excellent for handling larger amounts of solder.
- Knife tips are beneficial due to their edge, useful in specific applications.
- Blade tips can save time in certain soldering processes.
Q: What are the essential requirements for a successful soldering connection?
A: A successful soldering connection requires three key elements: solder, flux, and a proper heat source. The absence of any one of these components can lead to unsuccessful soldering outcomes.
